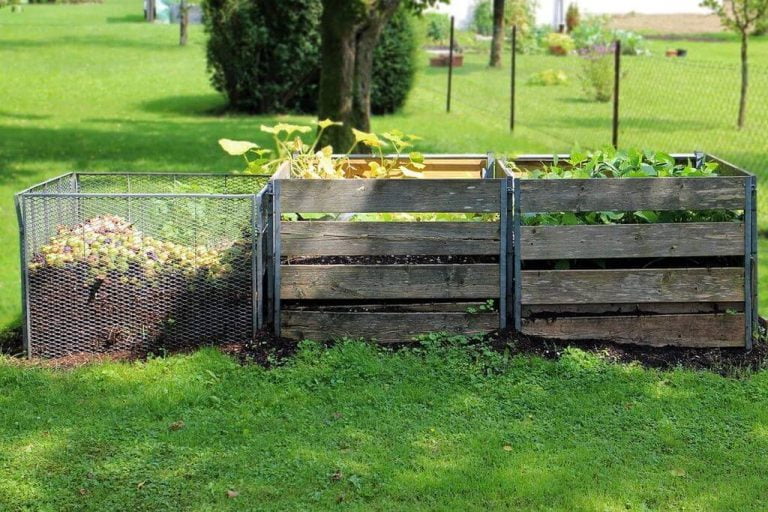
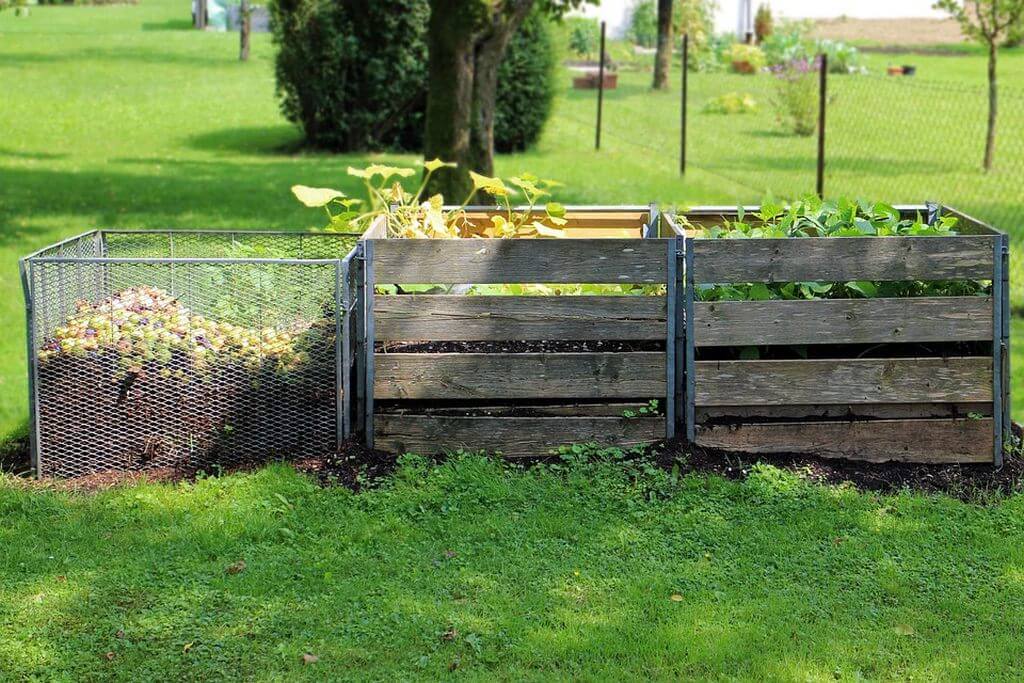
Compost in a container; Composting is an essential step in the right direction for your garden. It helps you produce nutrient-rich soil, which can be used to grow beautiful and healthy plants. However, you can’t just dump everything into a bin and expect it to turn into compost by itself. You must set up your compost system carefully because if anything gets inside or outside the containers at any time during the process, it may ruin your efforts altogether. Container composting is an excellent way for families or small groups with limited space in their yard or apartment gardens (or even no gardens at all) to start composting safely without having to worry about dents or leaks ruining their effort.
Materials Needed to Make Compost in a container
- Plastic storage bins: You’ll need to purchase a variety of plastic storage containers, which you can purchased at any local hardware, home improvement store, or online. The number of bins you will need will vary depending on the size of your compost pile. Still, generally speaking, you’ll want to have at least two large plastic bins so that when you’re finished composting all your material from those first two batches (the worms will help with this process), there will still be room for more additions.
- Drill: Several different types of drills are available for making holes in wood and metal. However, suppose you don’t want to spend money on an expensive power tool. In that case, plenty of options are available for doing so yourself without having much trouble doing it yourself using a regular household drill with a 5/16″ bit attached!
Directions to Make Compost in a container
You will need:
- A frame of some sort that can hold one or more plastic storage containers. I used a piece of wood, but you could also use metal or plastic. The weight of the items inside makes this kind of compost bin work, so don’t go cheap on your choice!
- Plastic storage containers (I would recommend ones with lids) in various sizes and shapes—it’s unnecessary for them all to be identical. Still, it’s best if they are similar in size and shape so that they fit together nicely when stacked inside each other. You may want to buy a few extra at first just in case something doesn’t work out as planned; if this happens, swap out whatever pieces weren’t working well with another set until everything fits together perfectly!
Tips and Warnings of Compost in a container
Composting is a great way to recycle food waste and reduce the amount of garbage you produce. It’s also an excellent way to use old, unused containers, which can used in your garden or elsewhere around the house.
If you want your compost to be as adequate as possible, follow these tips:
- Make sure all materials are added at once before mixing them so they won’t break down differently than desired. Add them slowly over two weeks or until they become one uniform color (not brown).
- Avoid using plastic storage bins with lids because they may leach harmful chemicals into your finished product (and any other composting project). Instead, opt for clear containers like glass jars or recycled paper bags (if those don’t work, try finding something else).
When to Make Compost in a container
Composting is a great way to reduce your carbon footprint and provide plant nutrients. It’s also an excellent way to reduce your garbage bill since it will take less space in your trash cans.
Composting can be done using any container—even plastic storage bins!
What is the Best Container for Composting?
If you’re looking to compost, there are a few things to keep in mind when deciding which container is suitable for your needs:
- Plastic bins are the most common choice of container composters. They’re lightweight and easy to move around, making them ideal for large-scale operations where space is at a premium.
- Plastic bins are affordable compared to other materials like metal or stainless steel. This makes them an attractive option if cost is essential when choosing your container.
What Is Compost Made From?
You can use a mixture of different materials to make compost. Some people use organic materials, like leaves and grass clippings, while others prefer inorganic ones, like cardboard and newspaper.
You’ll also want to keep in mind what you’re going to put your compost bin on. If you live in an area that gets hot during the summer months or if it often snows during winter, then perhaps plastic storage containers aren’t the best choice for your yard.
Add Worms for Better Efficiency
The next step is to add worms. This is the most crucial part of the composting process because it will help break down the materials and convert them into compost, which you want in your garden or house.
Worms are easy to find, but it’s best to buy them at an outdoor or farm-supply store. You can also order online from companies like Amazon or eBay if you don’t live near an area with many local suppliers!
The Benefits of Composting
- Composting reduces waste.
- Can helps to create a healthy environment.
- Compost also often used for plant as a fertilizer.
- Composting is an easy way to recycle, saving you time and money!
You can build a compost container out of plastic containers.
You can build a compost container out of plastic containers. Plastic containers are cheap, easy to find, and come in various sizes, shapes, and colors. They’re also airtight, keeping pests like flies and rodents from getting in your pile. And because they’re opaque by nature (meaning you can see what’s inside), you know exactly what’s happening at all times!
Plastic containers make excellent compost bins because they’re airtight and opaque – meaning you get an excellent seal between the lid and base of your bin that keeps out moisture while allowing oxygen into the pile for decomposition. This makes them perfect for indoor applications where there’s no need for ventilation holes or vents – plug it up tight!
Find a good location for your bins.
When you’re ready to make your compost bin, it’s crucial to find a suitable location for it. You want the bin to be level, protected from the elements, and have good drainage so water can drain quickly away from your new composting system. Your best bet is finding an old lawn or flower bed that has been removed from its original location—you may need to dig up some dirt underneath for this purpose if you don’t have access to any existing ground cover in your yard.
Once you’ve chosen an ideal spot for your bin, protect it by placing stakes around its perimeter and filling in any holes with concrete blocks or bricks before putting down the plastic storage containers (or whatever material will hold moisture).
Choose storage bins that are both opaque and airtight.
You’ll want a storage bin that is both opaque and airtight. A tight-fitting lid helps keep moisture in, while the material of your bin will help prevent light from getting inside. If you have an outdoor storage area, consider using a non-airtight container for this purpose; however, if your space is indoors or semi-indoors (like at home), you’ll need an airtight container to ensure against pests and rot.
In addition to holding moisture well to compost properly, opaque containers serve another critical function. They can act as a barrier between harmful ultraviolet rays in sunlight and fresh food items stored inside them—this helps keep potential pathogens at bay while preventing cross-contamination between different types of bacteria on your soil!
Drill several holes on the sides of the bottom bucket.
The best method for drilling holes in plastic storage containers is a cordless drill and bit attachment. Which you can find at most hardware stores or online. Make sure you use an appropriate size drill bit for your plastic container: 1/4″ wide should be sufficient, but if it’s too wide, you won’t be able to fit as much material into each hole as possible. The spacing between each hole should be about 4 inches from its neighbor so that air can circulate easily without getting trapped inside any one place (this will help prevent odors from building up).
Drill holes around the top inch of the top bin.
To prevent the compost from getting too wet, drill holes around the top inch of your bin. This will keep it from dripping and allow heat to escape when you’re not actively turning it over.
Set the bottom bin in the location you selected in Step above, and fill it with about 4 inches of gravel. Add about 3 inches of sand on top of that for drainage.
You will want to ensure that your compost container is level and sturdy. A tarp will keep it clean and dry, and any airtight container can help prevent odors from escaping. You’ll also want an opaque container; otherwise, sunlight will shine through the bottom of your bin as you fill it with compost material.
You can drill holes into plastic storage containers in many ways. Using a drill bit with a hole-making attachment (such as this one), an electric sander/grinder with sandpaper attached, or simply running one end of a pencil through them with enough pressure behind each iteration until they break through at their weakest point. At this point, they meet their neighbor’s walls!
The key here is patience; drilling holes takes time but once done correctly, they’ll last forever without needing any maintenance!
Add 5 to 8 inches of composting material into the lower bin. Mix wet and dry items.
- Add 5 to 8 inches of composting material into the lower bin.
- Mix wet and dry items.
- Maintain a good ratio of green to brown by using various materials, including:
- Leaves or grass clippings
- Vegetables
- Dry food waste
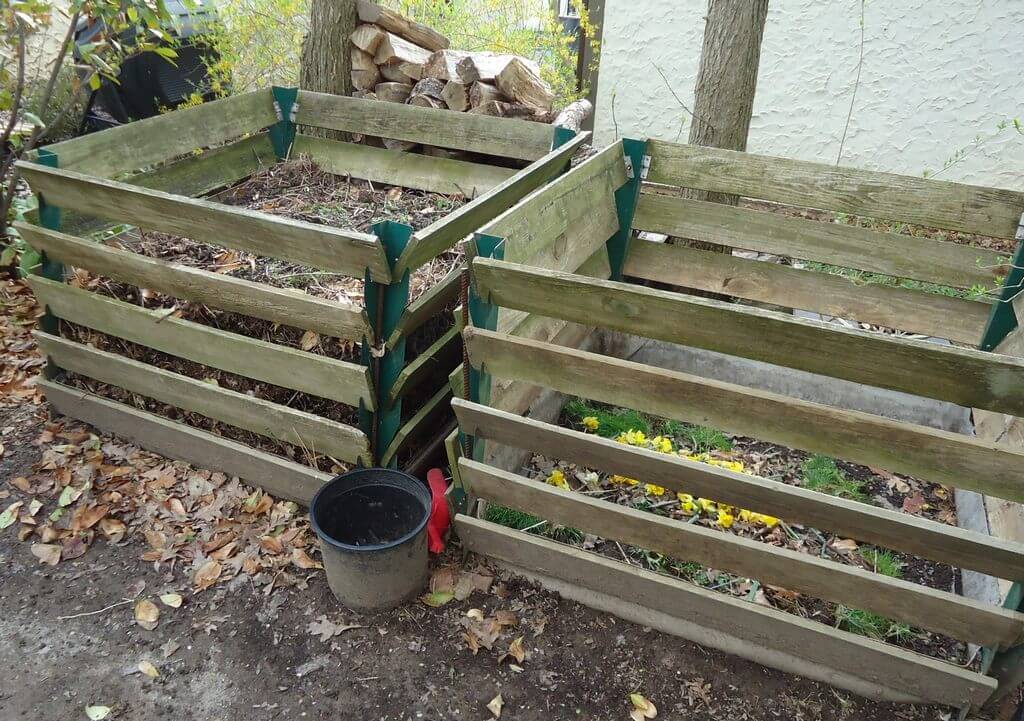
Place your second bin on top of the first one once it’s filled with composting materials. Make sure you have it centered over so that both bins are aligned over each other symmetrically. Don’t force it — if it doesn’t fit snuggly, you might need a different size container for one or both bins. When you’re done, cover it with a piece of plywood or some sort of lid to prevent animals from getting into it (make sure any lid you use is not airtight).
When you’re finished with your compost, it’s time to fill the second container. Before moving it into position, make sure that both your first and second containers are aligned over each other symmetrically. If they aren’t aligned correctly, you may need to adjust their alignment so that they fit snuggly together; if this isn’t possible after some trial and error, then maybe a different size container would work better for one or both bins.
When filling your second bin with composting materials (or whatever you’re using), make sure not to force them together too tightly — if there’s any sloshing going on here, then bacteria won’t have much room in which to thrive! Also, don’t use an airtight lid over the new bin; this will prevent air from getting inside where all those good microbes live happily ever after. And who wants muck everywhere? Instead, opt for something like plywood or another flat surface that allows plenty of ventilation but prevents critters from getting into our precious cargo!
Why Bother with Compost in a container?
Why bother with Compost in a container? You can compost in a container no matter how small your space is, and there’s no need to worry about keeping the material away from animals or children. Containers are also ideal for urban dwellers who don’t have much yard space but still want to take advantage of the benefits of composting.
You’ll be able to control the temperature of your materials—a critical factor in making good-quality compost. When you use a pile outside onsite (e.g., at home). This means that all sorts of weather can affect how quickly it decomposes;. At the same time, containers permit controlled conditions indoors where they’re protected from rain and snow by roofing over them—and if you use other methods like an aging bed or outdoor pile, there are even fewer limitations on what happens inside them!
Compost in a container: Conclusion
We hope this article has given you some ideas on building a Compost in a container. Whatever your reasons for doing so, we know that you’ll love the benefits of it. Your plants and soil will thank you for it too!