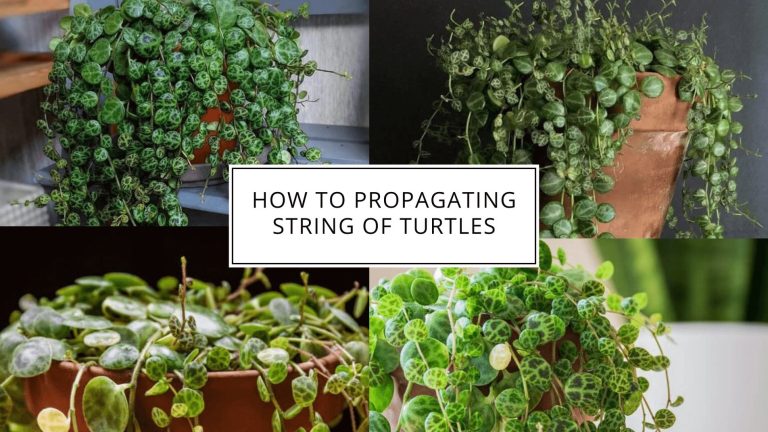
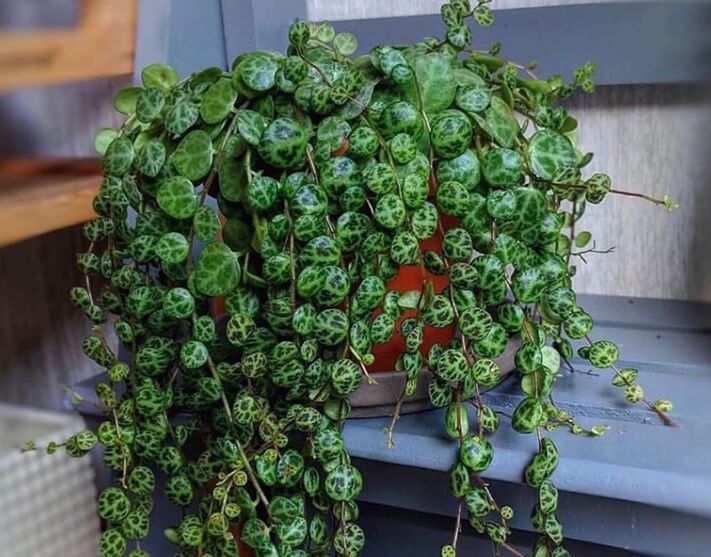
The art of Propagating String of Turtles. The String of Turtles plant is a vining tropical plant with delicate turtle-shell-shaped leaves. It is a part of the Peperomia family and originates from South America. This type of indoor plant has become increasingly popular in recent years, due to its succulent leaves, bright colors, and unique shape.
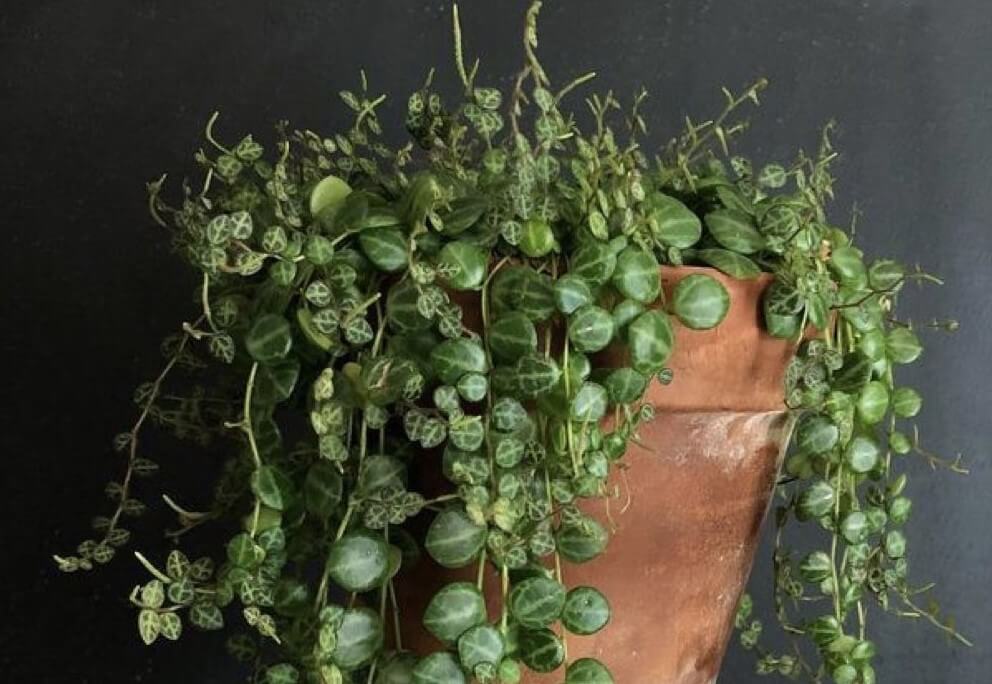
The String of Turtles plant does best in indirect light and prefers an environment with high humidity levels and temperatures between 60-80 degrees Fahrenheit. As with all plants, it’s important to provide adequate drainage holes so that excess water can escape from the soil. Place your String of Turtles near a south or east facing window for optimal light exposure and make sure it gets plenty of bright light throughout the day.
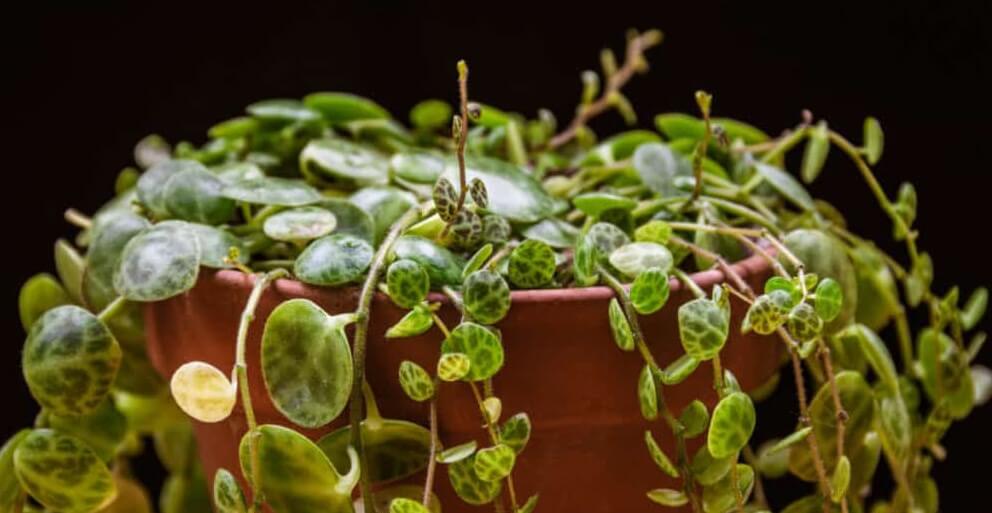
For best results in growing your String of Turtles, use a potting mix specifically designed for indoor plants with good drainage capabilities. Liquid fertilizers should be used sparingly to avoid root rot, as excess fertilizer can cause damage to delicate root growth. If pests are present on your String of Turtles, use insecticidal soap as necessary to control them without damaging the plant itself.
With proper care and patience, you can propagate your own string of turtles at home! The most common method is through stem cuttings – just snip off a section of stem with at least two leaf nodes attached and place it into a potting mix for root growth. With enough bright light exposure and regular watering, you’ll soon have your own little ‘string’ full of adorable turtle shells!
Tips for Successful Propagation
Propagating a String of Turtles plant is a fun and rewarding experience. With patience and proper care, you can easily grow your own little ‘string’ full of adorable turtle shells! Here are some tips for successful propagation:
First, make sure you have a well-draining potting mix for your cuttings. This will help provide adequate drainage for the new roots to develop properly.
Second, find a spot in your home with bright light exposure. This could be near a south or east facing window, or even under artificial lighting. The more light you give your cuttings, the better chance they have at growing healthy roots.
Third, keep your soil moist but not soggy – too much water can cause root rot. A good rule of thumb is to wait until the top layer of soil feels dry before giving it another drink.
Finally, if pests become an issue on your String of Turtles plant, use insecticidal soap as necessary to control them without damaging the plant itself.
With these tips in mind, you can look forward to propagating your own beautiful String of Turtles!
Steps to Propagating String of Turtles
Propagating your own String of Turtles is an incredibly rewarding experience. It’s a relatively simple process with just a few steps, so even beginner gardeners can give it a go!
Firstly, you’ll need to take stem cuttings from your existing plant. Look for stems with healthy leaves and cut them at the leaf nodes. Place the cuttings in moist soil and keep them out of direct light while they root.
Next, give your new cuttings bright indirect light and make sure the soil is kept moist but not soggy. Peperomia plants are fairly easy to care for so be sure to water when the top layer of soil feels dry. You may also want to mist the foliage with water every now and then to boost humidity levels.
Finally, provide your propagated String of Turtles with a liquid fertilizer once every month or two. This will help promote strong root growth and create lush foliage – perfect for adding to your indoor plant collections!
With these tips in mind, you can look forward to growing your own stunning String of Turtles!
Step 1: Gather Supplies
Gathering supplies for propagating your own String of Turtles is an exciting experience! Start by selecting a healthy stem with good leaves, then you’ll need to get some potting soil, drainage holes, and a pot.
If you’re growing your plant indoors, opt for a container that doesn’t let too much light in. Tropical plants like the String of Turtles need bright indirect sunlight to flourish. Once you’ve found the perfect pot, fill it with a suitable potting mix that drains well but still retains moisture – this will help prevent root rot down the line.
Finally, if you plan on using liquid fertilizers for your new plant make sure you have these on hand too. A balanced fertilizer once per month or two should be enough – just remember to dilute it as directed so you don’t give your plant too much nutrition at once!
With all your supplies ready, you can finally begin propagating your very own String of Turtles!
Step 2: Prepare Cutting and Potting Soil
Now that you have all the necessary supplies, it’s time to prepare your cutting and potting soil. Start by picking a healthy stem with at least three leaves from your String of Turtles plant. Then, cleanly snip off the end of the stem just below a leaf node – this is where new roots will form!
Once you’ve made your cut, dip the end of the stem in some rooting hormone to promote strong root growth. Next, fill your pot with moistened potting soil, making sure to leave room for the cutting itself. Finally, place the cutting in its new home, making sure it’s firmly planted in the potting soil so it won’t move around too much.
If you want to give your new plant an extra boost, feel free to add some liquid fertilizer as well – just dilute it as directed or you might hurt delicate succulent leaves. With everything ready and in place, you can now sit back and watch as your new plant grows!
Step 3: Plant Cuttings in Potting Soil
Once the cutting is firmly planted in the potting soil, it’s time to move on to the next step: Planting your String of Turtles cuttings. As you prepare to do so, make sure that you keep the environment of your new plant in mind. When it comes to succulents like Peperomia prostrata, they need indirect light and a high humidity level. If placed in direct sunlight or kept too dry, these delicate leaves can easily burn or become dehydrated.
That said, it’s important to make sure there are drainage holes at the bottom of your potting mix – otherwise, root rot may occur! To ensure healthy growth for your new plant, provide them with bright light but not direct light – this means placing them near a south facing window or using grow lights if necessary.
Finally, if any pests try to invade your indoor plant collection, don’t worry! A quick spray of insecticidal soap should do the trick. With these simple steps taken care of, all that remains is for you to sit back and admire as your String of Turtles grows and thrives in its new home!
Step 4: Place in Indirect Light and Monitor Humidity Levels
Congratulations! You’ve successfully planted your String of Turtles cuttings in potting soil – now it’s time to move on to the next step: finding a spot with indirect light. This is an essential part of caring for Peperomia prostrata, as they need bright but not direct sunlight in order to thrive.
To get the perfect spot, try placing your plant near a south-facing window or using grow lights if necessary. As you search for the ideal location, don’t forget to monitor humidity levels too! With its succulent leaves and turtle shell shapes, this tropical plant prefers higher humidity than other indoor plants. To increase the moisture around it, consider misting or adding a humidifier nearby.
Overall, finding just the right amount of indirect light and monitoring humidity levels are two key components when it comes to keeping your String of Turtles healthy and happy! With these simple steps taken care of, all that remains is for you to sit back and watch as your plant grows and thrives in its new home!
Step 5: Water Regularly with Liquid Fertilizers
Watering your String of Turtles regularly is a great way to keep it healthy and growing. This vining plant prefers to stay lightly moist, so aim for watering it every 7-10 days with either a spray bottle or the “soak and dry” method. This means pouring water into the pot until it comes out of the drainage holes, then allowing it to completely dry out before watering again.
If you want to give your String of Turtles an extra boost, consider adding liquid fertilizers as well! Just make sure you dilute them according to package directions and don’t overdo it — too much fertilizer can damage delicate leaves and cause root rot.
In addition, be sure not to pour water directly onto its leaf nodes! Water should always go straight into the potting mix in order for your plant’s roots to absorb the nutrients they need for growth. With regular watering and occasional fertilizing, your String of Turtles will be part of your indoor plant collection for years to come!
Step 6: Transplant When Necessary
Transplanting your String of Turtles is a great way to ensure it has plenty of room for growth. As this tropical plant likes to stay in consistently moist soil, you’ll want to check the potting mix often to make sure it’s not getting too dry or compacted. If you notice that the roots have begun to encircle the edges of the pot, it’s time for a transplant!
Start by taking your String of Turtles out of its original pot and placing it in a larger one filled with well-draining, succulent-friendly soil. If needed, gently massage the old soil off its roots before transferring it over. Once transplanted, water thoroughly and place your plant in bright indirect light — such as near a window with sheer curtains — so it can continue absorbing sunlight without burning its leaves.
If you take good care of your String of Turtles, you should see new root growth within 1-2 weeks! The new turtle shells will also appear after about 4-6 months and will eventually form into thick vines full of lush foliage and unique succulent leaves. With regular watering and humidity levels at around 40%, your String of Turtles will be thriving in no time!
How to Propagating String of Turtles?
Propagating String of Turtles can be done in 4 ways:
- Substrate Propagation
- Water Propagation
- Sphagnum Moss Method
- Propagating in Potting Mix
1. Substrate Propagation
Substrate propagation is an easy and rewarding way to expand your indoor plant collection. It involves taking a stem cutting from the plant you’d like to propagate, such as the String of Turtles, and placing it in a moist soil mix with plenty of drainage holes. With just a bit of patience, indirect light, regular watering, and fertilizing, you’ll soon see new root growth appear!
When transplanting your new baby turtles into a larger pot filled with fresh succulent-friendly soil mix, be sure to provide them with bright light but no direct sun as they are delicate tropical plants that don’t tolerate intense heat. Keep humidity levels up by misting the leaves frequently or using an ultrasonic humidifier if necessary. If insects become an issue, use insecticidal soap to prevent any further damage.
Propagating your own plants is incredibly satisfying—not only do you get to watch them grow and thrive over time but you also get the chance to create more beautiful specimens from old ones! Get started today and soon enough you’ll have string of turtles galore!
2. Water Propagation
Water propagation is a great way to easily and quickly propagate your String of Turtles! All you need is a few healthy stems, water, and a bit of patience. Simply pop the stem cuttings into a bottle or pot of water and watch as new leaves sprout. Be sure to remove lower leaves from the stretch that’s going into the water.
Water propagation is an especially low-fuss method compared to substrate propagation, and with just a bit of luck, you’ll soon have beautiful baby turtles in no time! Enjoy watching them grow over time while creating more beautiful specimens from old ones! So don’t wait – give water propagation a try today and get ready to be amazed at what you can achieve!
3. Sphagnum Moss Method
Propagate your string of turtles easily and efficiently with the Sphagnum Moss Method! Start by placing healthy stems on a layer of moist Sphagnum moss and loosely covering it with plastic wrap.
Support with two bamboo stakes and create a humid environment inside a clear plastic bag. Remember to take off the plastic every now and again to let the plant breath, and eventually new roots will form. When this happens, transplant into soil for beautiful babies in no time! Don’t hesitate – give this method a try for amazing results today!
4. Propagating in Potting Mix
Propagating in potting mix is an easy and efficient way to get new baby turtles! With just a bit of patience and the right tools, you can have your own string of turtles in no time. Start by gathering healthy stems and placing them on a layer of moist sphagnum moss. Cover the pot loosely with clear plastic wrap or insert bamboo stakes or another similar support and then cover it with a clear plastic bag to maintain humidity.
Periodically remove the plastic to allow the plant to breathe, then replace it. In several weeks you should see new roots forming – at this point, transfer them into soil! Make sure that your pot has drainage holes so that excess water can escape, as well as enough indirect light for the delicate leaves of your turtle shells.
Keep an eye out for pests and use insecticidal soap if needed. Finally, feed your plants liquid fertilizers every couple of weeks to promote root growth but take care not to over-fertilize which could lead to root rot. With some care, you’ll soon be able to add these tropical plants to your indoor plant collections!

Conclusion Propagating String of Turtles
Propagating string of turtles is a fun and rewarding experience. With just a bit of patience and dedication, you can have your own healthy baby turtles in no time! All that’s needed are healthy stems, moist sphagnum moss, a clear plastic cover, and indirect light for the delicate leaves.
Although pests can be an issue from time to time, using insecticidal soap should control them. Make sure to fertilize your plants every couple of weeks with liquid fertilizers but don’t overdo it as root rot could occur.